





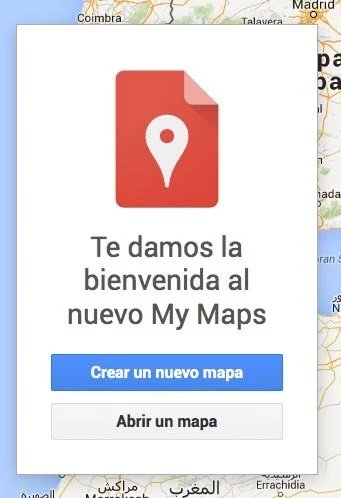
My Maps
A couple of years ago we told you in How do you insert a customised Google Maps map on our website? how to insert a KML file in Google Maps and in that way manage to create a customised map on our own website.
Well then, it seems that from 2015 onwards Google Maps is no longer going to allow the technique described in that post to be used, so we are going to take a quick look at what we have to do so that our customised maps go on being functional from the start of next year.
First step
The first thing we are going to do is visit our My Maps, the new section Google Maps has created to manage our customised maps, and create a new map.
To do so we must log in with our Google Maps account or create a new one.
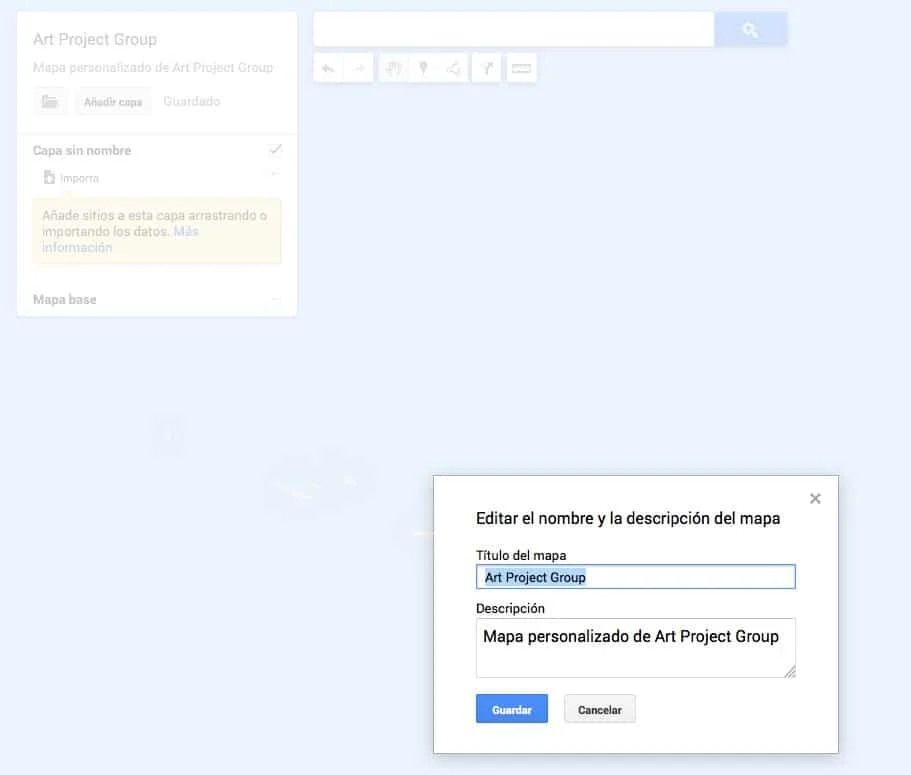
Name and description of the map
Once the new map has been opened, we will add the name and the description we want to it.
Second step
We now have the map created; now it is time to import the KML file we had created following the instructions described in How do you insert a customised Google Maps map on our website?.
Once imported, the customised map containing the KML file will open with our own marker, our own image and with all the contact details we added to it, but the latter have to be edited, since they have not loaded correctly.
Third step

KML file import
Once we have carried out the actions described above, we need to edit the contact details and the image correctly, since the formats have changed and additional data appears that should not be visible.
It should be borne in mind that now, thanks to My Maps, we can add more than one image to the contact details we have added to our marker, so you can upload as many as you need and as My Maps allows you.
It should also be borne in mind that My Maps does not allow HTML to be inserted into the contact details, or at least we have not yet found the way.
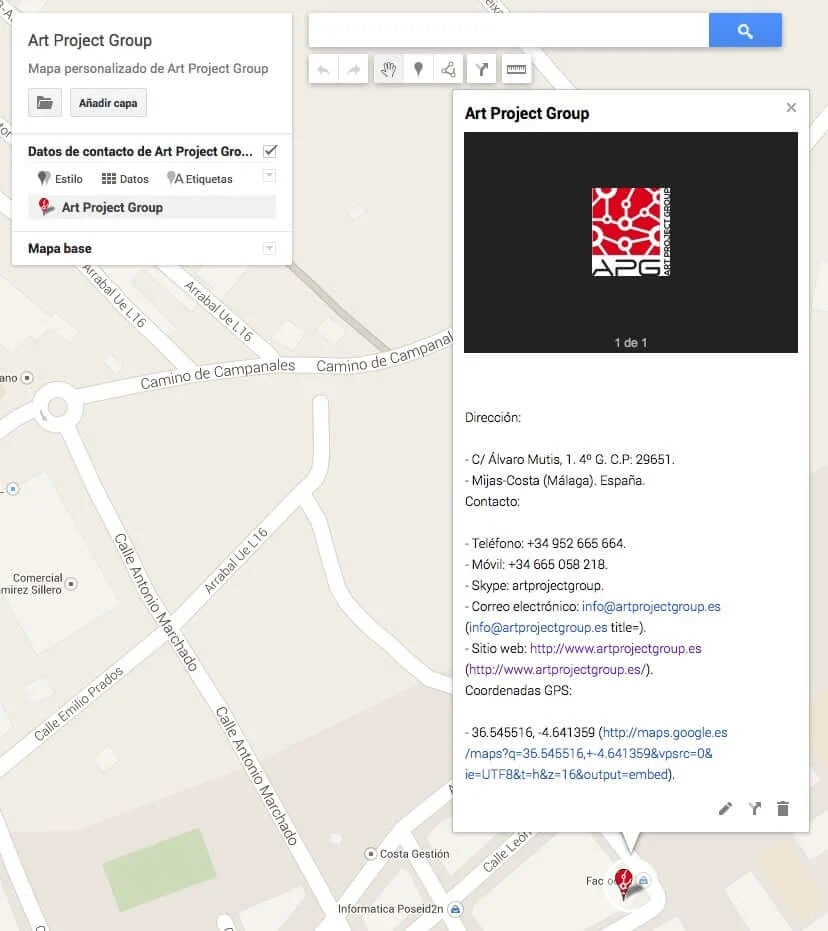
Imported KML file
We can also change the type of map to be shown by choosing in Base map between any of the nine options available.
Fourth step
Once the image and the contact details have been edited, and to finish the map off, we must save it as public. To do so we will click the Share button that appears in the top right-hand side of the screen, and we will change Private to Public on the Web.
Finally, and in order to be able to insert the customised map on our own website, we are going to generate the HTML code that we must insert. To do so we will click on the button that has an icon with an open folder, to the left of the Add layer button, and we will select, from the context menu, the Embed on my site option, which should show us code similar to this:
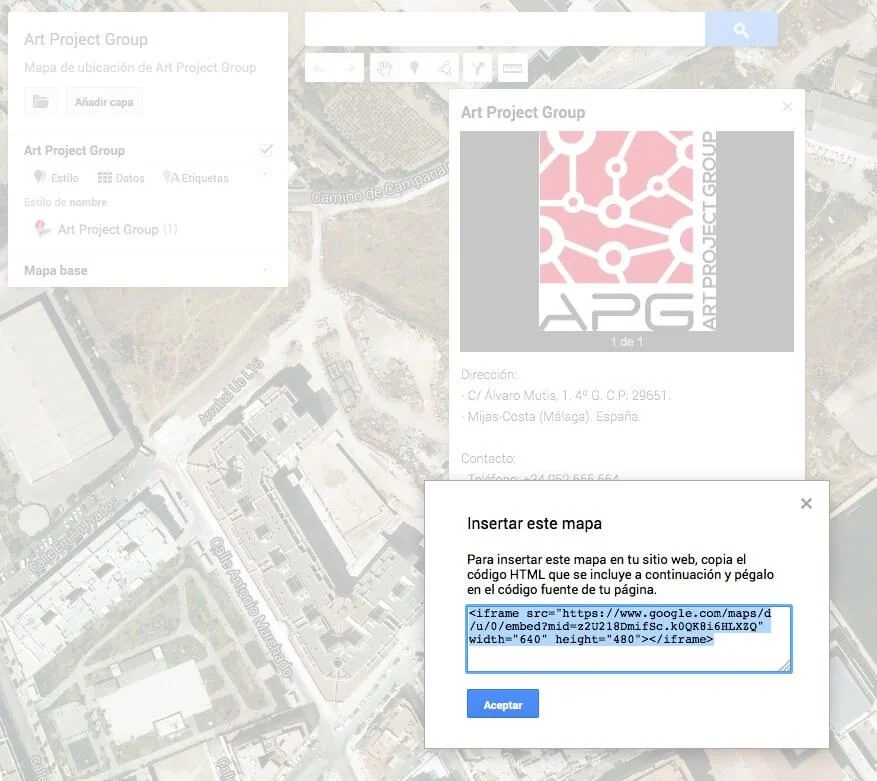
Embed map on my website
With this simple and straightforward code, we can now insert it anywhere on our website.
If you want to see the code in action, you can see it right now on our Contact page.
We look forward to your opinions and comments on this new way of inserting customised maps on your websites.
Related posts




Comments
Products and services
-
 Multilingual Starter Kit
121,00 €
-
 WC - APG Cont4
-
 Virus removal
From: 242,00 €
-
 Website migration
242,00 €
-
 WC - APG myGESTIÓN

Art Project Group is now available in English. The whole site is translated: every plugin page, the full documentation and the support centre.
artprojectgroup.com #WordPress #WooCommerce

How do you set up WC - APG Cont4?

Se ha publicado #WooCommerce 11.2.2: actualización de seguridad que refuerza las API REST y Store, mejora la validación de CSV y corrige problemas en pagos y pedidos. Incluye cambios en la base de datos.
¡Actualiza cuanto antes!
¿Cómo se configura WC - APG myGESTIÓN?

¿Cómo se configura APG Multisite Suite?